How to make a cheap Blowgun for less than 100₹.
17 May 2015I love documentaries and watch them more than I watch movies. So, just two weeks before, I was watching a very old documentary on tribal life called as “Nomads of the Rainforest”.
While watching the documentary, what intrigued me the most in the life of a nomad was the tools and techniques these tribal men used, to hunt their food. Especially, the blowgun (also called blowpipe).
This simple yet powerful weapon seemed to be favourite amongst all tribal communities. After having seen how the nomads created this weapon using simple tools and basic equipment in the forest, I decided to search for an online tutorial which will instruct to create one and came across this very short and useful video:
This weekend, a friend of mine involuntarily reminded me of this DiY Project and I immediately decided to make one today.
Although, the above video is self-explanatory, I have summarized below, all the steps that I did to make the blowgun.
Things needed for Blowgun:
I already had a pack of sticky notes and a pair of scissors, so I went to a nearby hardware store and bought the following required things as seen in the above video:
| Item | Price |
|---|---|
| 2’ PVC Pipe with 0.5” diameter | 30₹ |
| 0.5” to 0.75” PVC Pipe Female connector/adaptor | 20₹ |
| No. 12 x 1.5” long Wire Nails | All three types of nails, 10₹ in total. |
| No. 14 x 1.5” long Wire Nails | All three types of nails, 10₹ in total. |
| No. 14 x 2” long Wire Nails | All three types of nails, 10₹ in total. |
| Clay - 1 small pack | 20₹ |
| 1 Cello tape | 10₹ |
| Total: | 90₹ |

Making the Blowgun
As the blowgun comprises of only two things, we simply snug-fit the connector to the PVC pipe at one end.
Making the Darts
This is one of the important part of the whole blowgun kit.
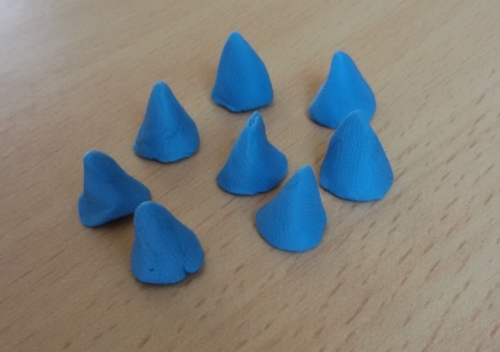
- Using the clay pack, roughly mould small amount of clay into tiny cones as shown below and keep these aside:
- Take a sticky note, using one corner of it as apex of the cone, twist it as shown in picture# 2.a, 2.b and 2.c below:
 Picture# 2.a
 Picture# 2.b
 Picture# 2.c
- Tape the outer part of the sticky note such that it completes the cone(see picture# 3.a). Cut off excess tape with a pair of scissors(see picture# 3.b). Now, picture# 3.c shows how an empty paper dart looks.
 Picture# 3.a
 Picture# 3.b
 Picture# 3.c
- Take one clay cone that we created earlier, and pierce a nail into it such that we can push the pointed part of the cone into pointed part of the paper dart. Gently push the nail alongwith the clay cone so that it fits in properly. Then, pull out the nail from outside. [See below pictures: 4.a to 4.e]
 Picture# 4.a
 Picture# 4.b
 Picture# 4.c
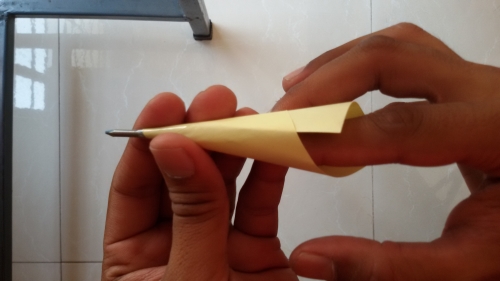 Picture# 4.d
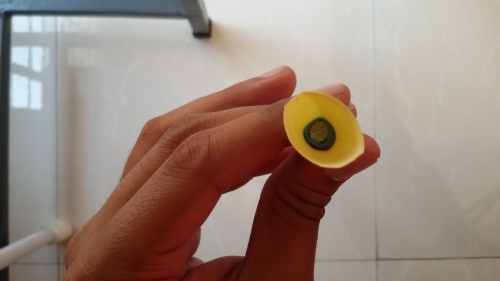 Picture# 4.e
- Now we take the dart from above step, and try to fit in the pipe so as to create a line using which we can cut off excess paper. [See below pictures: 5.a to 5.f]
 Picture# 5.a
 Picture# 5.b
 Picture# 5.c
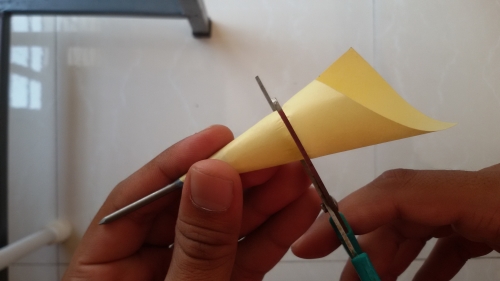 Picture# 5.d
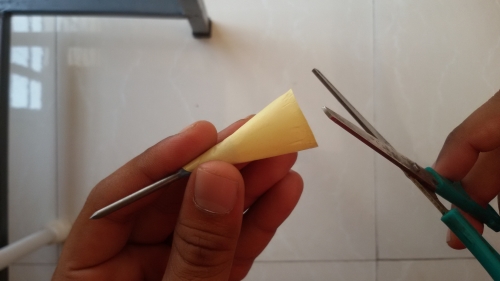 Picture# 5.e
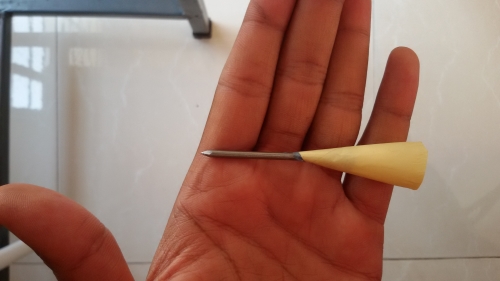 Picture# 5.f
- In similar way, I created paper darts with different types of nails. [See below picture]
 Picture# 6.a
- So the complete blowgun kit looks like this:
 Picture# 7.a
Making the Dartboard
I dont have a dartboard, so I decided to make one by reusing things at home.
- Pulled out an unused box and using my juggling ring, a ruler, pens and protractor; drew borders on it. [See below pictures: 8.a and 8.b]
 Picture# 8.a
 Picture# 8.b
Testing the Blowgun kit
Now that the dartboard is ready, I decided to try the complete blowgun kit.
- Mounted the dartboard on one of my wall in the bedroom and tried to shoot a couple of darts. It works perfect.
 Picture# 9.a
 Picture# 9.b
- You can be creative and do other things to the blowgun like add laser, spray-paint the gun, adding a quiver, etc.